Ready to get back on the road?
Unsure what you need to do to de-winterize your RV? We can help you get back on the road before you go off grid this RV season.
De-Winterization Checklist
If you did winterize your RV this past fall—or had it done for you—you’ll want to take certain steps to prepare for the upcoming RV season. Below we have several steps to help you navigate this sometimes tedious process.
1. Allow Your Hot Water Tank To Fill
In the Fall, your hot water tank bypass valve should have been turned. By turning this valve, you have stopped any liquid—pink antifreeze—from entering your hot water tank. Now, that it is time to take your RV back out of storage, you will want to allow water to flow through your tank. Be sure not to skip this step.
2. Sanitize Your Plumbing System
When sanitizing your plumbing system, you will want to fill your fresh water tank about 1/3 to 1/2 full with clean, filtered water—whatever filtration system you typically use is fine.
Now you’ll want to mix a bleach solution—your standard household bleach is fine—to cleanse your entire plumbing system. Using the 1/4 cup to 15 gallons of fresh water ratio, you’ll want to add your bleach solution to your tank before topping off your fresh water tank.
Example: If you have a 60 gallon freshwater tank, you’ll want to add 1 cup of bleach.
If you have an old watering can or milk jug, you might consider adding the appropriate amount of bleach to it, adding water to top off the can, and then use a funnel to add this solution to your tank. Once you have the bleach solution added, you will want to top off your freshwater tank with more filtered water.
Now that your freshwater tank is full, go inside your RV and turn on your water pump. This will allow your sanitized water from the freshwater tank to fill your hot water tank. Your pump will run for several minutes while it fills all the pipes—don’t worry.
3. Drain Your Lines
Once your water pump stops, it is time to drain all of your water lines throughout your RV. Take a minute and think about all of the places water is used in your RV—kitchen faucet, bathroom faucet, shower/tub faucet, outdoor shower faucet, toilet, etc.
At each water supply line, you’ll want to turn on your faucet—with your RV water pump still on. At first, you’ll see your winterized product spewing out—probably a pink antifreeze solution—along with some sputtering. This is because it’s removing air and antifreeze from your lines.
Next, you’ll see the water begin to run clear, but have a bleach smell to it. This is ok and is just your bleach solution running through your lines and sanitizing them.
Be sure you do this at each spot you are using water. And don’t forget to do it to your hot and cold water because these are two separate lines.
One last thing before you move forward is to add some freshwater to your toilet—your rubber toilet seal doesn’t like the next step and needs freshwater to protect it.
4. Let Your Lines Sit
Once you have clear water running from each line, you’ll want to top off your tank with freshwater. Let your RV water system sit for about 5 hours.This allows the bleach solution to do its work and clean every nook and cranny of the water lines.
5. Drain The Bleach Solution
After your 5 hours, it is time to remove the bleach solution from your RV.
- Turn off your water pump and drain the freshwater tank—this could take a while.
- Drain your hot water tank by locating and opening your drain valve.
- Open your hot and cold low point drain valves.
- Open your pressure release valve on your hot water tank.
Once water is done draining from your RV, you can close your low-point drain valves, your hot water tank drain valve, and close your pressure release valve.
6. Flush Your Water System with Freshwater
Now is the time to get good, clean, safe water running in your RV. Refill your freshwater tank with clean, filtered water. Then, turn on your RV water pump.
Now revisit all of your water sources. Run water from each line—hot and cold—plus your toilet for 15 seconds or until you are satisfied it is clean bleach-free water.
7. Drain and Refill
Now that you are satisfied you aren’t smelling bleach in your water, you can drain your water again. The same way as previously mentioned. Once all the water is done draining, you’ll be ready to connect it for your final fill.
Now you have a safe, clean water supply for your vagabonding around this beautiful country.
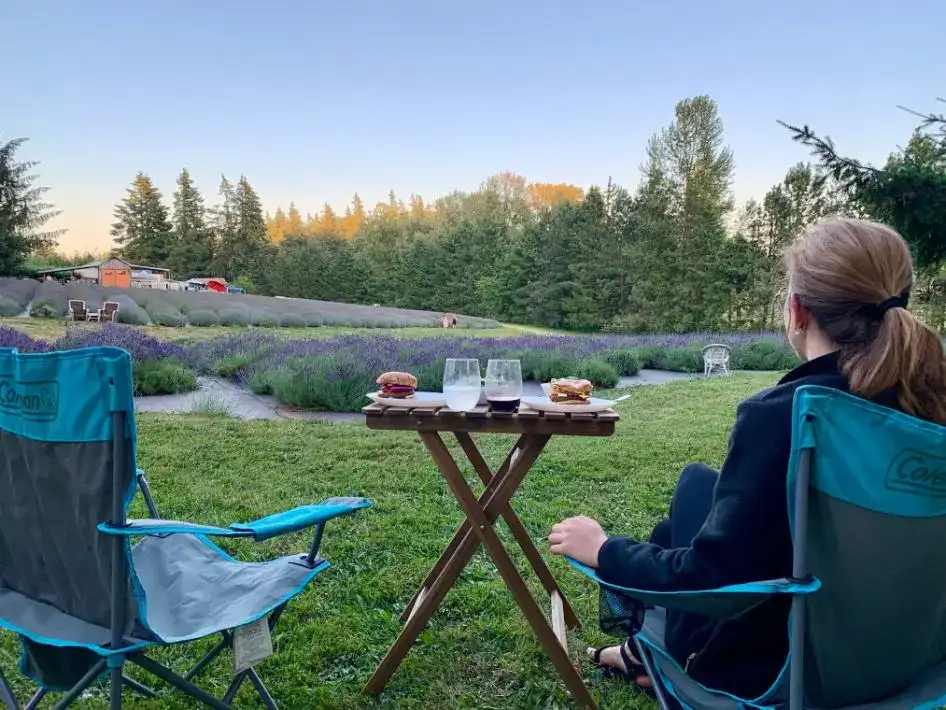
Consider Harvest Hosts
Now that you’re one step closer to hitting the road, consider joining the fastest growing travel and leisure company in the United States by getting an All-Access Membership.
What is Harvest Hosts?
Harvest Hosts is the largest, most fun, RV Camping Membership in North America. With your All-Access Membership, you get unlimited overnight stays at 8,000+ unique camping locations across North America without any camping fees.
Harvest Hosts connects self-contained RVers with farms, wineries, breweries, golf courses, private residences, and more. Members then request to stay overnight at these locations—inside their intuitive app.
When your Host approves your stay, you get access to their grounds in exchange for participating in their business. This Membership is a win-win for everyone involved. Plus, it will give you a glimpse into small businesses all over North America.